Friday, August 31, 2012

Amazing Mold Putty Pendant


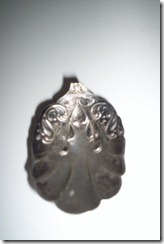
Recently I was given the bowl part of a sugar spoon and had intended making it into a pendant. I was looking at it today and decided to see if I could come up with a mold for it and use resin to make the pendant.

Here’s what I started with:
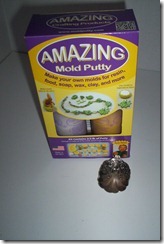
                   2003-01-19 11.14.04        2003-01-19 11.14.14 I loved the design on this spoon so……..I mixed up equal amounts of Part A and Part B of the Mold Putty. You need to get it mixed thoroughly and then I pressed my spoon into it to create the mold. I pressed the spoon in one way and then wasn’t sure how that would work, so once it set up I mixed up more putty and pressed the spoon in the other direction.
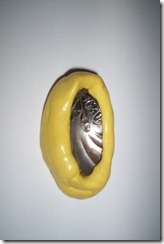
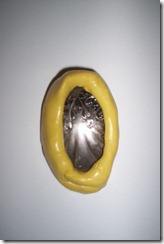
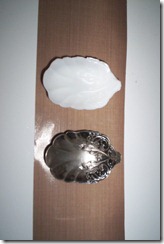
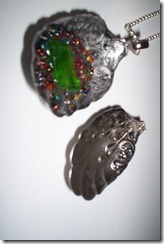
                 2003-01-19 11.18.20        2003-01-19 11.18.09   As soon as I had my molds made I mixed up some Amazing Casting Resin, (equal amounts of Part A and Part B) and poured it into the molds. Once it set up I decided that the one that had the cup to it would be perfect for the pendant. 2003-01-19 13.02.08 I know it’s kind of hard to see the design on the resin but it’s there. I then smoothed out the edges and first painted the resin piece with silver paint and then rubbed black paint into the crevises. Once the paint was dry I glued a piece of sea glass on the piece  and embedded some seed beads into some Crystal Lacquer in a random pattern around the glass. I then attached a bail  and here’s the finished product: 2003-01-19 15.18.04 The Crystal Lacquer isn’t quite dry here but look at the pendant next to the original spoon:  2003-01-19 15.18.35  Isn’t that awesome the way that it turned out? I was amazed at how close to the original the pendant looked. I’m a happy camper over this one! I would love to here what you think of it. Please leave a comment or two!
Barbara

Tuesday, August 28, 2012

Making a thin gourd wonderful with Creative Paperclay®


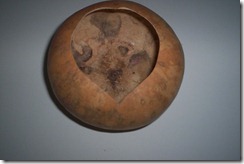
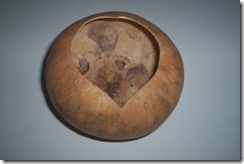
My project this time transformed a very thin ugly little gourd into a beautiful bowl. I had this gourd for quite some time because when I cut it open and cleaned it the gourd was super thin. I set it aside rather than work with it. I was looking for something else the other day and came across this gourd and had the bright idea that I could save it and transform it with some Creative Paperclay®.

2003-01-14 16.34.09        2003-01-14 16.34.20

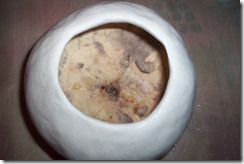
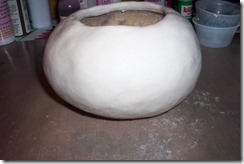
Not very pretty is it? I don’t know if you can see how thin it is but take my word for it. The first thing I did was cover the gourd with Creative Paperclay®.

2003-01-14 17.49.37        2003-01-14 17.49.49

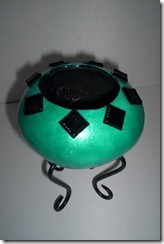
Once the paperclay was applied to the gourd, I first let it completely dry and then sanded it smooth by hand. I then painted the inside of the gourd black. On the outside I mixed up some Sakura Crystal Lacquer and Terri Sproul Mixers, Tanzanite Blue Shimmer and Green Shimmer and painted it on the gourd. When that was finished and dry, I added some mosaic black tiles and voila’ look what we have now!

              2003-01-16 15.51.07                          2003-01-16 15.50.56

So here you see the finished project, this gourd is really beautiful. Can you see the shimmer on it? I love the look of that shimmer and I love this color. Look at the before and then look at the after. Wow, quite a difference isn’t it? Creative Paperclay® is a great paperclay to work with and I’ve been using it for quite a long time. You need to try it too!


Barbara

Sunday, August 26, 2012

Quick Tip For working with Creative Paperclay®


Whenever you work with Creative Paperclay® use something else to build your base whenever possible. This way you will reduce the amount of clay that you use. You can make your clay go twice as far and still create some beautiful pieces. Your clay will also dry much faster. There are so many things that you can use to create a base on which to mold your clay, aluminum foil, wire, styrofoam, wooden dowels and even gourds, just to name a few. So the next time you start to create a piece made out of Creative Paperclay® make a rough base or body of the piece to be made and add your clay to that. You’ll be glad that you did.

Barbara

Thursday, August 23, 2012

Gourd work and Sakura Crystal Lacquer and Terri Sproul Mixers!


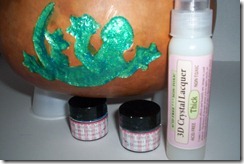
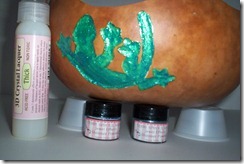
It’s been a little while since I’ve posted some of my Gourd Art that I’ve used Sakura Lacquer and the TS Mixers on. Well this gourd is a new one. To begin with the gourd has to be scrubbed on the outside, cut open and cleaned on the inside. I chose to make a bowl out of this particular gourd and I wanted to make it unique of course. In the first picture I’ve already carved out a circular spot and painted it with gold TS Mixers and Sakura Lacquer. Once that was done I used “Thick” Sakura Crystal Lacquer and put a thin layer in the same spot and added seed beads on it and when that had set I filled in the area with the “Thick” Crystal Lacquer. I know you’ve probably not heard about the “Thick” Lacquer from Sakura and that’s probably because it is new. I contacted Hiro Sakura some time back when I was placing an order and told him that I needed something thicker than the regular Crystal Lacquer because a gourd has a curved surface and the regular lacquer ran too quickly for what I was wanting to try. He sent me some and I’ve got to say “I love it!” The Terri Sproul Mixers can be mixed with both Lacquers and we know how good that looks!

2003-01-10 14.51.42    2003-01-10 14.51.53

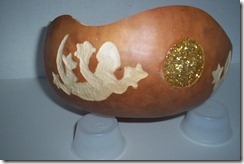
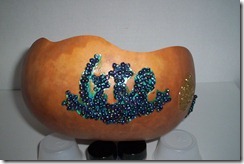
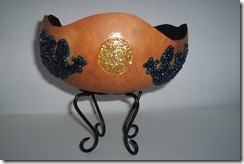
Here’s  a couple of pictures of the gourd after I had ground out the lizards. See the gold circle in the middle?

2003-01-10 15.24.12    2003-01-10 15.24.56

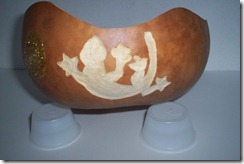
These are the lizards after they were ground out and then painted with the Sakura Crystal Lacquer and the Terri Sproul Mixers

2003-01-10 15.49.13    2003-01-10 15.49.25

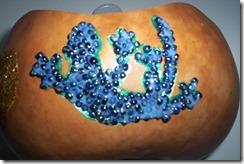
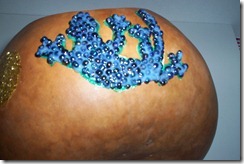
These pictures show the lizards with the beads and “Thick” Crystal Lacquer.

2003-01-11 19.28.17    2003-01-10 19.40.01

These pictures show the lizards with the Lacquer dry.

2003-01-11 19.28.04

This is a shot of the bowl with the lizards and the circle finished. The gourd is finished but I’m not sure if I will add anything else. How do you like it? These products are the bomb!! There are several places that you can buy these products at but Sakura Hobby Craft carries them all!

Barbara

Thursday, August 9, 2012

A New Piece of Jewelry made with Sakura Crystal Lacquer


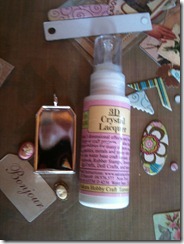
Hello there everyone! I wanted to share a necklace that I made using a blank bezel, some ephemera and Sakura Crystal Lacquer. I started out with the following:


IMG_1281

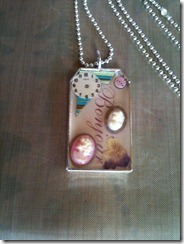
Once I had picked all of the pieces that I wanted to put together, I first used a bit of the Crystal Lacquer to hold my bottom piece down and then used the Crystal Lacquer to add all the other components of the necklace to the bezel. Once everything was attached, I filled the bezel up the rest of the way with Crystal Lacquer and I love how it looks!

IMG_1286

The Crystal Lacquer dries clear and you don’t have to worry about a lot of bubbles and if you get one it’s very easily gotten rid of. I think this one is going to be a gift for a granddaughter. Of course I’ll have to make several more, so that no one gets jealous!lol

Barbara